In this tutorial, you will learn how to install MySQL in your windows operating system. This can be done using MySQL installer. After this tutorial, you will have MySQL database and its tools up and running in your system.
Download MySQL Installer
The easiest way to install MySQL in you system is using MySQL installer. This provides easy to install wizard that provides MySQL along with the following components.
- MySQL Server
- MySQL Shell – The new MySQL client application to manage MySQL Servers and InnoDB cluster instances.
- MySQL Router – High availability router daemon for InnoDB cluster setups to be installed on application nodes.
- MySQL Workbench – The GUI application to develop for and manage the server.
- MySQL for Excel – Excel plug-in to easily access and manipulate MySQL data.
- MySQL for Visual Studio – To work with the MySQL Server from VS.
- MySQL Connectors – Connector/Net, Java, C/C++, OBDC and others.
- Examples and tutorials – To help you get started with your development.
- Documentation – Allows you to read the documentation offline.
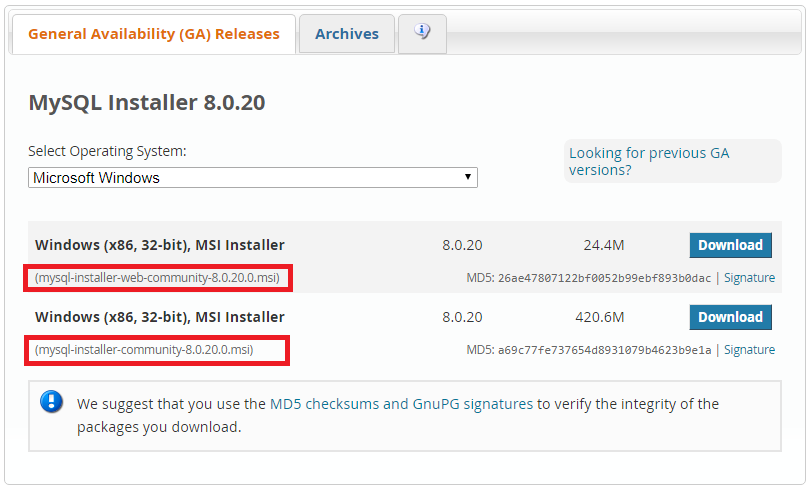
In order to download MySQL, please visit the following link https://dev.mysql.com/downloads/installer/. There are two files available to download and you can download it as per your choice.
- If you are connected to the internet while installing MySQL, you can choose online installer version mysql-installer-web-community-<version>.msi
- In case if you want an offline installer i.e. without internet connecting during installation, you need to download offline installer mysql-installer-community-<version>.msi
Install MySQL using MySQL installer
In order to install MySQL double click on the downloaded MySQL installer file and follow the below steps.
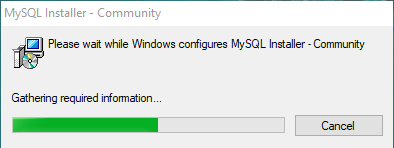
step 1: Windows configures MySQL Installer.
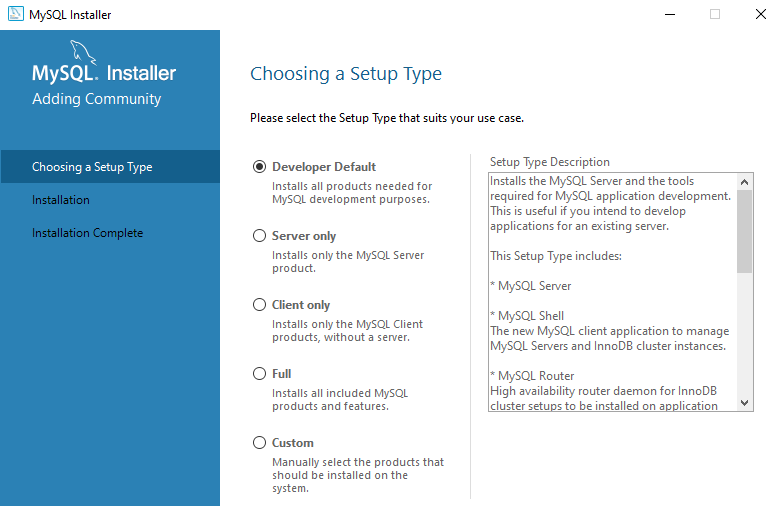
Step 2: Choose a Setup Screen: Choose first option i.e. Developer Default.
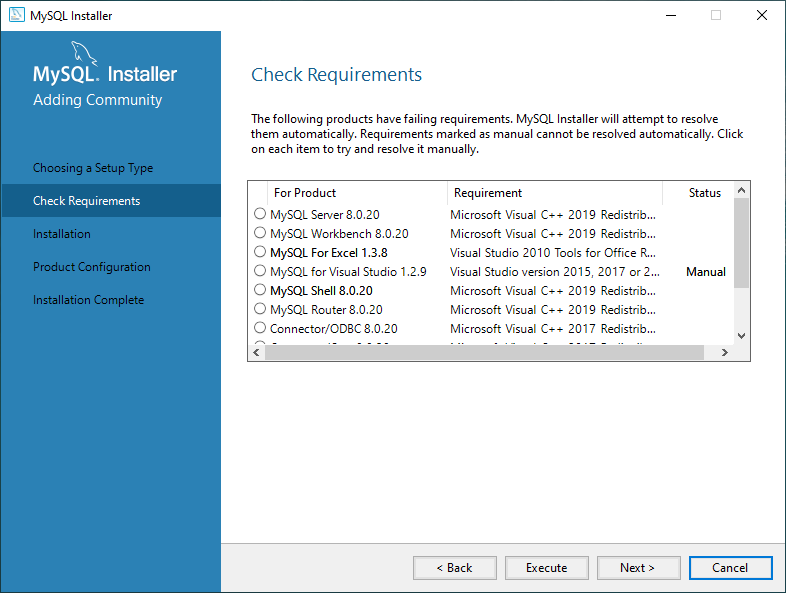
Step 3: On the next screen, check requirement screen will appear. It will show the list of required software need to install to run MySQL properly. Don’t worry, the setup is automatic i.e. you don’t have to download and install manually.
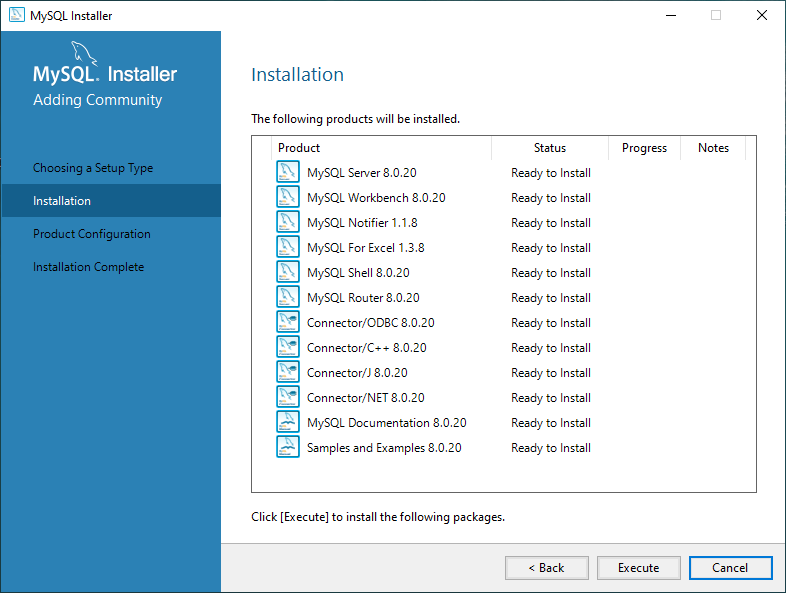
Step 4: Now click on the “Execute” button. It will install all the required components one by one. This will take a while depending on the components you have select and the downloading speed.
Step 5: Once all the components gets installed product configuration page will appear. Now let’s configure the MySQL database first.

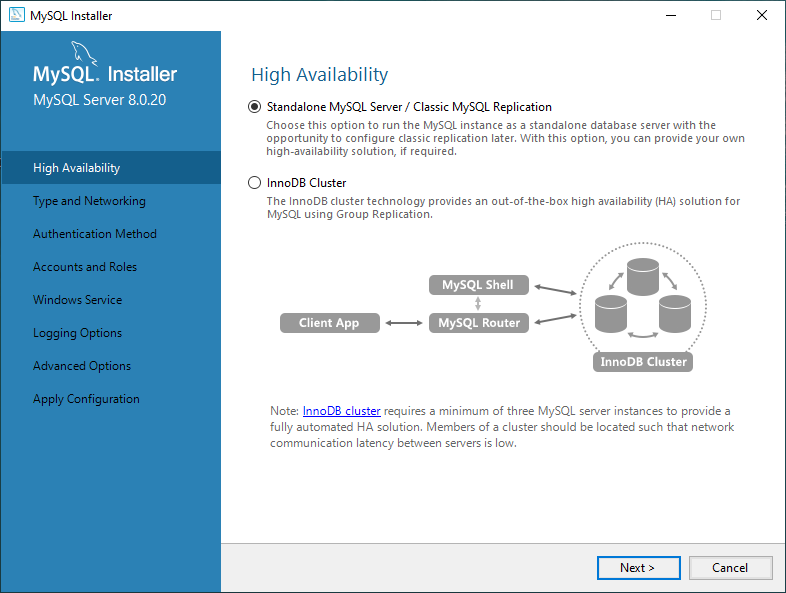
Step 6: On the next wizard, Select Standalone MySQL server/Classic MySQL Replication and click next.
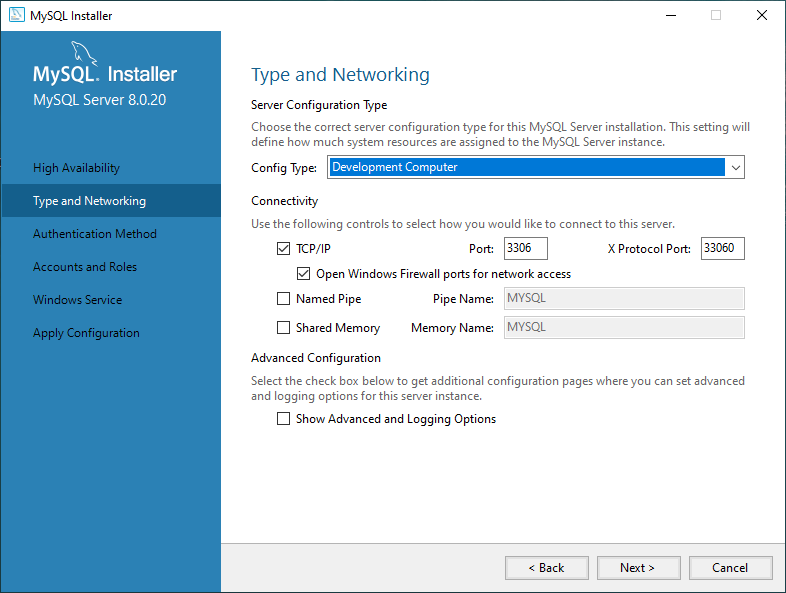
Step 7: On the Type and Networking screen select Config Type as Development Computer and keep all other setting as it is.
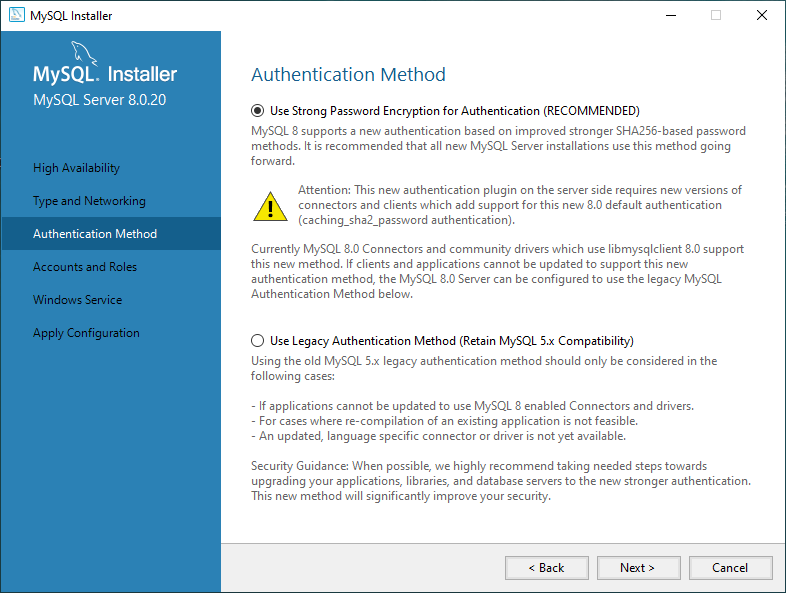
Step 8: On Authentication method screen select “Use Strong Password Encryption for Authentication” and click next.
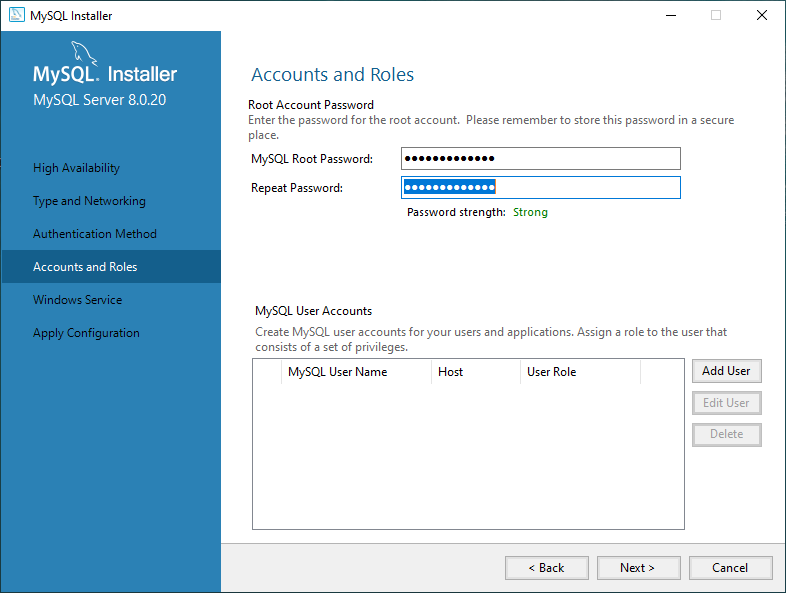
Step 9: In Account and Roles screen you have to choose a strong root password for MySQL. This will be required to connect MySQL. Also, you can create user and assign a role on this screen.
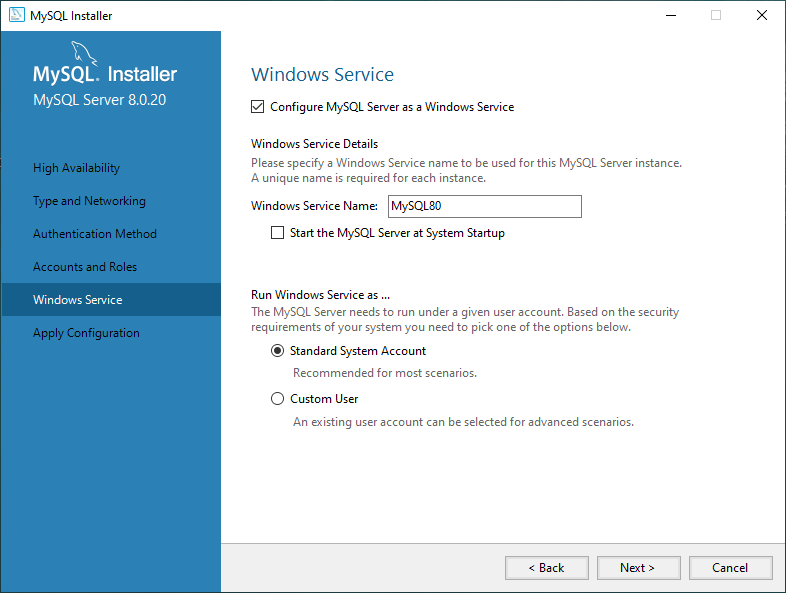
Step 10: On the next screen, choose the option Configure MySQL server as Windows Service.
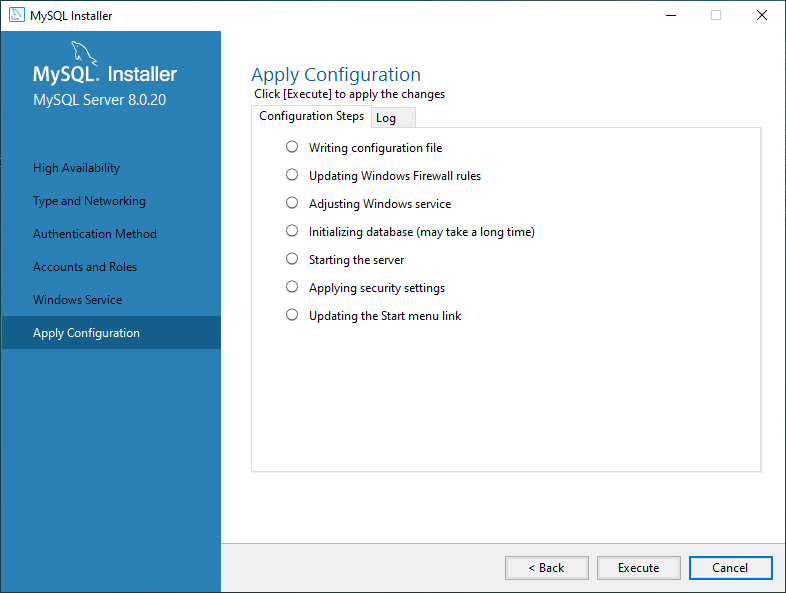
Step 11: On “Apply Configuration” screen click on the execute button.
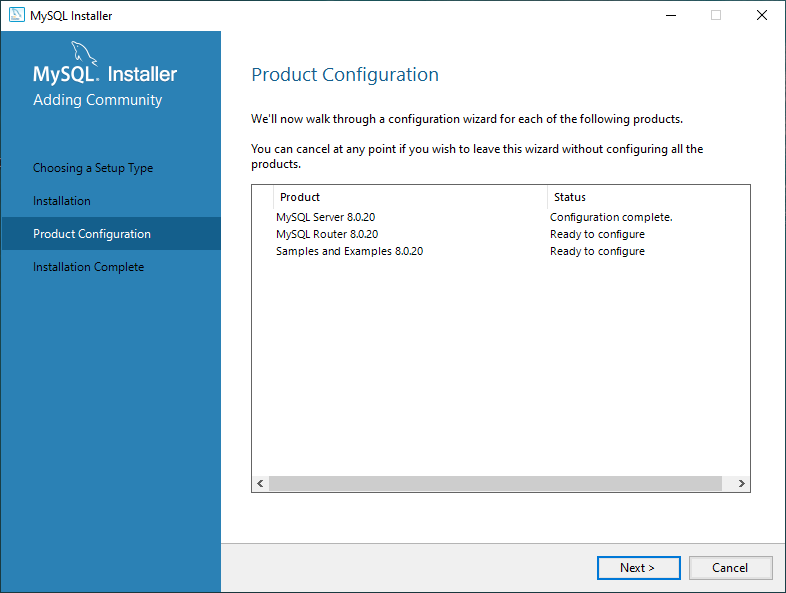
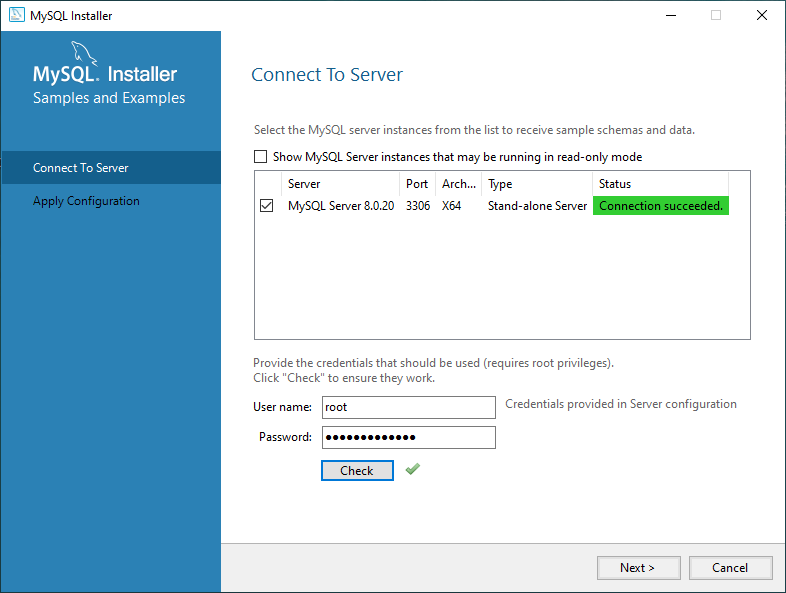
Step 12: The configuration MySQL server completed. Now for the configuration of MySQL Router, Sample and Examples just follow the below screen-shots.

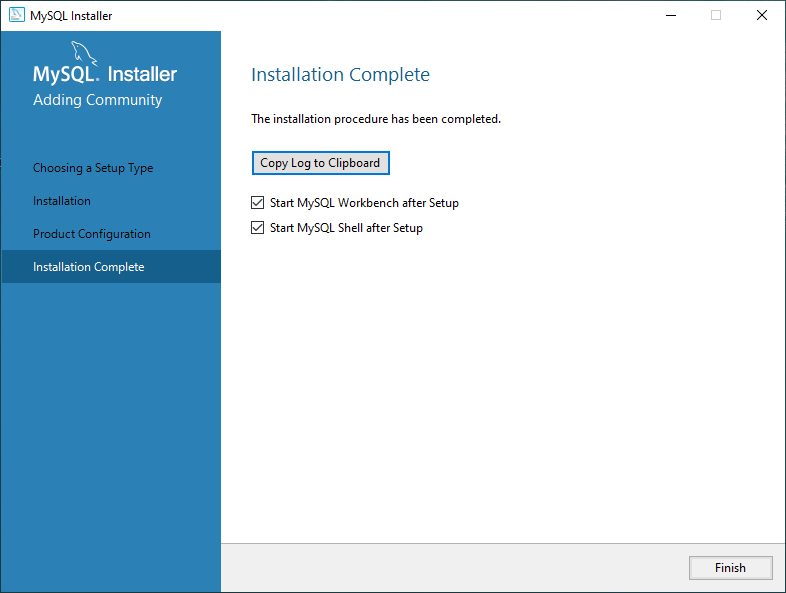
Step 13: On the last step click the checkbox of “Start MySQL Workbench after Setup” and “Start MySQL Shell after Setup” and click on the finish button.
In this tutorial, you have learned the complete installation process of MySQL database using MySQL install.
Hope you haven’t encountered any error during the installation process. In case of any doubt and problem, you feel free to comment below.